Transform a Wall with a Simple Floating Shelf
You don’t need special carpentry skills or an elaborate workshop to upgrade your space. With just a handful of basic materials and about an hour of your time, you can build a floating shelf that is equal parts function and style.
Why Choose a Floating Shelf?
A floating shelf is a smart, minimalist solution for adding storage or display space without cluttering your room.
- Clean, modern look
- Utilizes wall space efficiently
- Perfect for books, décor, or framed photos
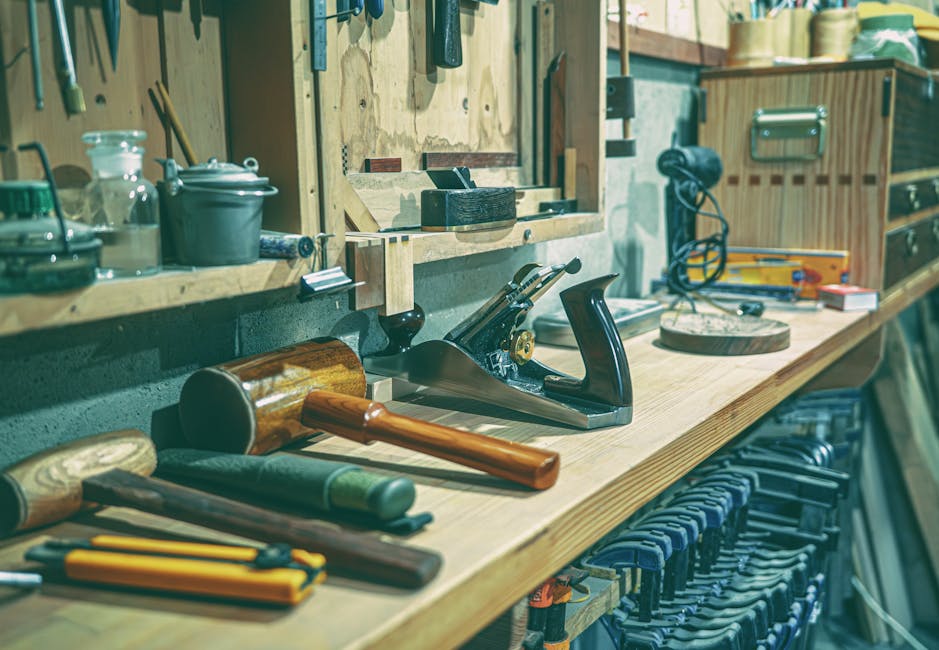
What You’ll Need
You likely have most of the tools already. Here’s what you’ll want to gather before you get started:
- Pre-cut wood (or cut to your preferred length and depth)
- Wall anchors or studs for mounting
- Shelf brackets (concealed or L-brackets, depending on your design)
- Measuring tape and level
- Drill and screws
- Sandpaper and wood finish (optional, for a polished look)
Simple Steps to Build
- Measure and Mark: Decide on height and placement. Use a level to ensure alignment.
- Install Brackets: Secure the mounting hardware to wall studs or with anchors.
- Attach the Shelf: Place the wood on the brackets and screw into place (or slide into position if using hidden supports).
- Finish if Desired: Sand rough edges and apply stain or paint to match your style.
Built to Last
Create it with care and this shelf won’t just serve a purpose today. It will blend seamlessly into your space for years, standing strong well beyond fleeting design trends.
Introduction
Vlogging isn’t going anywhere. Even as flashy trends come and go, creators who tell real stories and connect with real people continue to thrive. Through platform disruptions, economic shifts, and short attention spans, vlogging has held its ground by staying personal, flexible, and deeply human.
That said, 2024 is already throwing curveballs. Algorithms are shifting, AI is stepping in, and audience behavior is evolving fast. It’s not just about uploading more content — it’s about posting the right content in the right format at the right time. For creators who want to stay relevant (and get paid), understanding these changes isn’t optional. It’s essential.
Basic tools: Level, drill, screws, stud finder, measuring tape
Materials:
- 1 wooden board (length and width based on your space)
- 2 to 3 heavy-duty L-brackets or a hidden floating shelf support kit
- Wall anchors (only if you are not drilling into studs)
- Wood stain or paint (optional)
- Sandpaper and finishing supplies
AI Is Speeding Up Workflow Without Replacing Humans
AI tools are no longer optional for vloggers. From generating transcripts to cutting first drafts of footage, AI is now a legitimate part of the content creation toolkit. Editing takes half the time with smart automation. Voice-over scripts can be brainstormed in minutes. Thumbnails get tested with A/B tools that learn fast.
But—and this matters—AI isn’t the star. It’s the assistant. Vloggers who use AI well understand where to draw the line. They’re letting it handle rough cuts or captioning, not their humor, stories, or personal style. That stuff still needs a human hand.
There’s a balance here. Automate the boring, keep the core creative. That’s what top creators are doing now. Let AI help with the rinse-and-repeat tasks so you can focus on the craft. It’s not about working less. It’s about working smarter.
Micro-Niching for Loyal, High-Intent Audiences
General appeal just doesn’t cut it anymore. Vloggers who go narrow—think “vegan recipes for mountain bikers” or “cozy living for introverted creatives”—are tapping into something more durable: trust and loyalty. These micro-niches don’t pull massive numbers, but they attract the kind of viewers who actually care, stick around, and open their wallets.
This shift is about quality over quantity. A channel with 10,000 deeply engaged subscribers can outperform one with 100,000 disengaged lurkers. People are tired of generic content. They want creators who get them, who speak their language, who show up consistently with content that matters in their specific world.
Monetization gets easier, not harder, when your fanbase is focused. You don’t need to chase every trend when your niche itself is the value. Whether it’s a side hustle or a full-time gig, targeting the right audience means more stable income and less burnout. This is the era to double down on what makes your content different.
Start by locating studs in the wall using a stud finder. Securing brackets directly into studs gives the strongest mount, especially if you’re hanging anything with weight. Once you’ve marked your stud positions, drill small pilot holes where the screws will go. This makes it easier to drive the screws in and helps keep the wall from cracking.
Next, line up your brackets with the pilot holes. Screw them in tight and double-check that everything is level before moving on. A crooked shelf or mount is an easy fix now and a headache later.
If you can’t hit a stud in the spot you need, use heavy-duty wall anchors. These bite into drywall and spread the load across a wider area, adding strength where studs aren’t available. Just don’t skimp on quality—cheap anchors will fail when it matters most.
Slide the wood board into position on the brackets or supports. Make sure it’s centered and flush against the wall if needed. Once it’s in place, grab your screws and secure the board to the brackets. Go in from underneath or behind—depends on the bracket style, but either way, keep the hardware out of sight. After it’s screwed in tight, check the board with a level. You want it straight, both for looks and for function. If it wobbles, adjust as needed before loading anything on it.
If you’re aiming for clean, minimalist vlog setups or background shelving that doesn’t steal the spotlight, focus on the small details. Start by using wood filler to hide screw holes. Sand it smooth once dry so the fix blends in naturally. Next, match your stain to other wood elements in the room. Cohesion matters more on camera than in person—mismatched tones will stand out on video. Finally, for that sleek floating shelf look, skip visible brackets. Invest in a hidden bracket system built for low-profile installs. It costs more upfront, but the payoff is a crisp, modern aesthetic that won’t distract your audience.
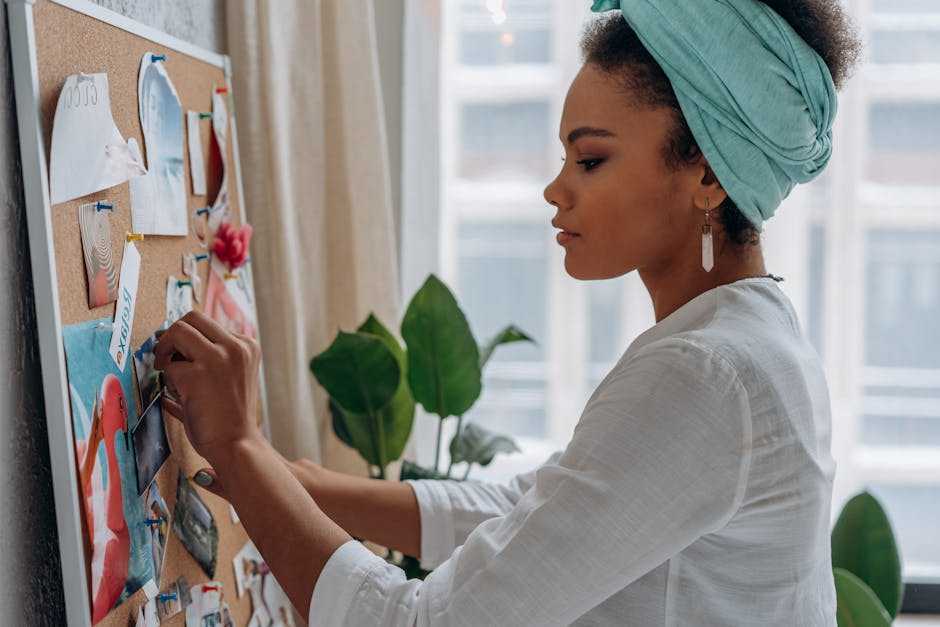
Display shelves aren’t just for stuffing things into corners. Think of them as curated snapshots of your taste. Showcase a mix of books, framed art, candles, or low-maintenance plants. Keep things personal, not promotional.
Play with height and texture. Stack a few books flat, lean a print casually behind a vase, drop in a ceramic bowl for contrast. These small tricks add visual rhythm and movement, giving the space structure without making it feel too styled.
But edit ruthlessly. Open shelves don’t hide a mess. Before loading them up, ask if each piece adds something or just clutters the view. Think intentional storage with a side of personality. Less is usually better. Always cleaner.
For vloggers looking to upgrade their filming spaces on a budget, a few strategic tweaks can make a huge difference. Think lighting adjustments, backdrops that aren’t just blank walls, and storage that clears clutter fast. You don’t need a pro setup to level up the feel of your content—just smarter organization and a few well-placed aesthetics.
For other simple upgrades, check out our roundup: Weekend DIY Projects to Refresh Any Room
 There is a specific skill involved in explaining something clearly — one that is completely separate from actually knowing the subject. Vicky Skinneriez has both. They has spent years working with gardening and landscaping tips in a hands-on capacity, and an equal amount of time figuring out how to translate that experience into writing that people with different backgrounds can actually absorb and use.
Vicky tends to approach complex subjects — Gardening and Landscaping Tips, Home Improvement Essentials, Interior Renovation Ideas being good examples — by starting with what the reader already knows, then building outward from there rather than dropping them in the deep end. It sounds like a small thing. In practice it makes a significant difference in whether someone finishes the article or abandons it halfway through. They is also good at knowing when to stop — a surprisingly underrated skill. Some writers bury useful information under so many caveats and qualifications that the point disappears. Vicky knows where the point is and gets there without too many detours.
The practical effect of all this is that people who read Vicky's work tend to come away actually capable of doing something with it. Not just vaguely informed — actually capable. For a writer working in gardening and landscaping tips, that is probably the best possible outcome, and it's the standard Vicky holds they's own work to.
There is a specific skill involved in explaining something clearly — one that is completely separate from actually knowing the subject. Vicky Skinneriez has both. They has spent years working with gardening and landscaping tips in a hands-on capacity, and an equal amount of time figuring out how to translate that experience into writing that people with different backgrounds can actually absorb and use.
Vicky tends to approach complex subjects — Gardening and Landscaping Tips, Home Improvement Essentials, Interior Renovation Ideas being good examples — by starting with what the reader already knows, then building outward from there rather than dropping them in the deep end. It sounds like a small thing. In practice it makes a significant difference in whether someone finishes the article or abandons it halfway through. They is also good at knowing when to stop — a surprisingly underrated skill. Some writers bury useful information under so many caveats and qualifications that the point disappears. Vicky knows where the point is and gets there without too many detours.
The practical effect of all this is that people who read Vicky's work tend to come away actually capable of doing something with it. Not just vaguely informed — actually capable. For a writer working in gardening and landscaping tips, that is probably the best possible outcome, and it's the standard Vicky holds they's own work to.