Why Peel and Stick Wallpaper Is Taking Over
Peel and stick wallpaper is having a moment and for good reason. It delivers big design impact without long term commitment, making it ideal for renters, design dabblers, or anyone who changes their mind a lot. Unlike traditional wallpaper, there’s no glue, no buckets of water, and no hours of scraping it off when you’re ready for a change.
Time is another win here. You can refresh a wall in an afternoon without calling in professionals or turning your space into a construction zone. The backs peel clean. The panels line up fast. And the clean up? Basically none.
Style wise, the options aren’t limited to bland prints or faux brick. Today’s peel and stick offerings come in everything from textured grasscloth to bold geometrics, minimalist neutrals, and even mural style statement pieces. Whether you’re aiming for subtle or standout, there’s a version that fits both your vibe and your wall.
Choosing the Right Style for Your Space
The wallpaper you choose shouldn’t just look good it should work with the purpose of the room. Bedrooms call for soothing tones and soft patterns, something that invites calm without causing distraction. Offices or creative spaces? That’s where you bring out the bold prints, graphic lines, or high contrast colors that can pump energy into the zone.
Think of wallpaper as a design tool, not just décor. Want a low ceiling to feel taller? Vertical stripes can visually stretch the space. Need to widen a hallway? Horizontal designs help. Geometry, contrast, and repetition do more than catch the eye they shape how the space feels.
But before you go all in, order a few swatches. Light changes everything, and what looks sleek in a showroom might read too shiny in early morning sun. Swatching helps you check not just color, but texture, reflection, and scale. It’s the five minute test that saves you hours of regret.
Prep Work That Pays Off
Peel and stick wallpaper doesn’t give you much wiggle room if your walls aren’t ready, the whole thing can look sloppy fast. First, clean the surface with a damp cloth and mild soap. Dust, grease, and loose paint will mess with adhesion. Let it dry out fully before moving on. Next, if the wall is glossy or too textured, give it a light sanding and consider a coat of primer. This step evens everything out and creates a better grip for the adhesive.
Got bumps? Scrape them down or patch them with wall filler. Don’t skip this you’ll see every flaw once the paper’s up. If you’re applying over old paint, be sure it’s not peeling or chalky. Peeling paint means the wallpaper won’t stick; chalky paint needs a cleaning and sealant before you even think about wallpapering.
And don’t ignore the room’s temperature. Extremes either hot or cold can mess with the adhesive. Aim to install when the space is between 65°F and 85°F. Too cold, and the adhesive hardens. Too hot, and it gets tacky before you’re ready. Keep it neutral for the cleanest install.
Mastering the Application Process
No matter how great the pattern or how high quality the product, poor installation will always show. The game changer? Getting your lines straight, your bubbles gone, and your corners crisp.
Start with alignment. Use a level or a laser guide to keep your first panel dead straight it sets the tone for the rest. Lining up patterns takes patience. Don’t rush. Peel a bit, stick a bit, and step back often to make sure everything’s tracking. When bubbles show up (they will), smooth them out immediately using a felt edged smoother or your hand wrapped in a soft cloth. Work from the center outward.
Corners and outlets are the trickiest. For corners, gently bend the panel and use a utility knife to trim excess don’t force it to lay flat where it clearly doesn’t want to. Around outlets, remove the cover plates and press the paper over the opening, then slice out the center. Replace the covers afterward for a clean finish.
The right tools make the job smoother from start to finish. Smoothers, precision blades, levels, and measuring tape are non negotiables. Keep a sharp blade on hand the cleaner the cut, the more professional your finish looks.
Want the full breakdown of how to nail your install from prep to final press? Check out our detailed peel and stick installation guide.
Removal Without the Headache
Taking peel and stick wallpaper down doesn’t have to be a mess. Start slow. Grab a corner preferably from the top and pull gently at a 45 degree angle. Don’t yank. Let the adhesive release gradually. Most quality panels are designed to come off clean, especially on properly prepped walls. If you hit resistance, try softening the area with a hairdryer on low heat. This helps loosen the glue without damaging the paint or drywall underneath.
If there’s any sticky residue left behind (sometimes it happens), a gentle scrub with warm soapy water or a cloth dampened with rubbing alcohol usually does the trick. Avoid reaching straight for the heavy duty cleaners you don’t want to strip the wall finish.
Thinking of reusing the wallpaper later? Flatten each panel back onto its original backing or onto wax paper if the original’s long gone. Store them in a cool, dry place, stacked flat to avoid creasing. They won’t last forever, but if handled right, you can give them a second life in a new space.
Where to Use (and Where to Skip)
Peel and stick wallpaper plays best on smooth, clean surfaces. Think painted drywall, sealed wood, glass, or even metal. These give it something solid to grip without risking bubbling, peeling, or a patchy finish. The smoother the wall, the better the end result no guesswork needed.
Bathrooms and kitchens are tricky. Moisture and steam can mess with adhesion unless you’re working with a waterproof variant built for it. If that’s not what you’re using, save your wallpaper for drier zones.
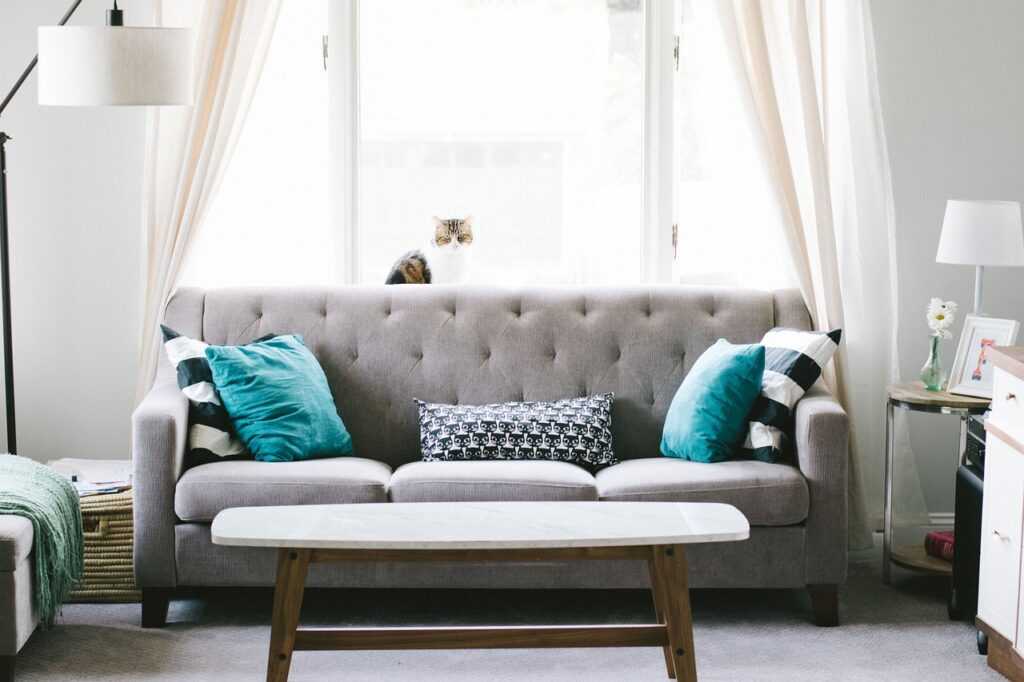
Another choice: go bold or go subtle. Accent walls like behind a bed or framing a reading nook add punch without overwhelming. But if you’re aiming for full room coverage, make sure your pattern and color don’t wear out their welcome. Balance is key.
Start simple, stay smart.
Final Tips From the Pros
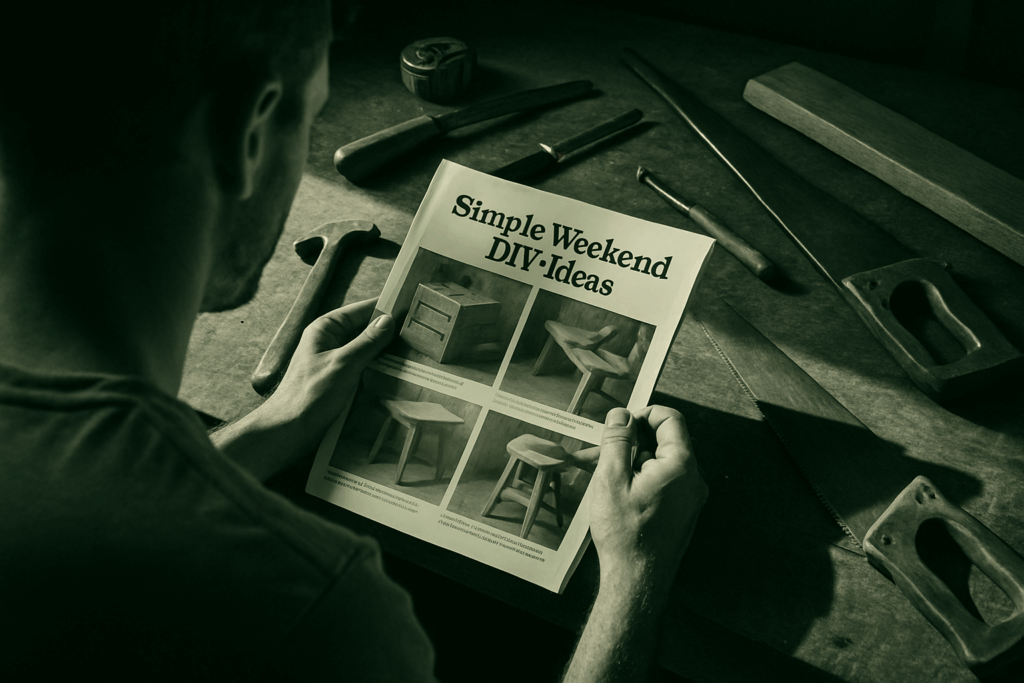
Start small. If you’re new to peel and stick wallpaper, don’t launch into your living room wall as your first project. Try a contained space like a powder room, the back of a bookshelf, or a single accent panel in an entryway. These bite sized areas help you get a feel for the material without the pressure of perfection.
Take your time. One of the biggest mistakes people make is rushing the install. The adhesive isn’t going anywhere step back often, double check your alignment, and smooth as you go. If something’s off, peel it back and reset.
Finally, think bigger than the paper. Wallpaper can elevate a space, but the effect multiplies when paired with the right paint touchups, lighting, and accessories. Great design doesn’t rely on just one element it’s the combo that makes the room click.
Want step by step help? Dive deeper into our full peel and stick installation breakdown for pro level results.
 Tylisia Rothwyn writes the kind of interior renovation ideas content that people actually send to each other. Not because it's flashy or controversial, but because it's the sort of thing where you read it and immediately think of three people who need to see it. Tylisia has a talent for identifying the questions that a lot of people have but haven't quite figured out how to articulate yet — and then answering them properly.
They covers a lot of ground: Interior Renovation Ideas, Home Design Inspirations, Gardening and Landscaping Tips, and plenty of adjacent territory that doesn't always get treated with the same seriousness. The consistency across all of it is a certain kind of respect for the reader. Tylisia doesn't assume people are stupid, and they doesn't assume they know everything either. They writes for someone who is genuinely trying to figure something out — because that's usually who's actually reading. That assumption shapes everything from how they structures an explanation to how much background they includes before getting to the point.
Beyond the practical stuff, there's something in Tylisia's writing that reflects a real investment in the subject — not performed enthusiasm, but the kind of sustained interest that produces insight over time. They has been paying attention to interior renovation ideas long enough that they notices things a more casual observer would miss. That depth shows up in the work in ways that are hard to fake.
Tylisia Rothwyn writes the kind of interior renovation ideas content that people actually send to each other. Not because it's flashy or controversial, but because it's the sort of thing where you read it and immediately think of three people who need to see it. Tylisia has a talent for identifying the questions that a lot of people have but haven't quite figured out how to articulate yet — and then answering them properly.
They covers a lot of ground: Interior Renovation Ideas, Home Design Inspirations, Gardening and Landscaping Tips, and plenty of adjacent territory that doesn't always get treated with the same seriousness. The consistency across all of it is a certain kind of respect for the reader. Tylisia doesn't assume people are stupid, and they doesn't assume they know everything either. They writes for someone who is genuinely trying to figure something out — because that's usually who's actually reading. That assumption shapes everything from how they structures an explanation to how much background they includes before getting to the point.
Beyond the practical stuff, there's something in Tylisia's writing that reflects a real investment in the subject — not performed enthusiasm, but the kind of sustained interest that produces insight over time. They has been paying attention to interior renovation ideas long enough that they notices things a more casual observer would miss. That depth shows up in the work in ways that are hard to fake.