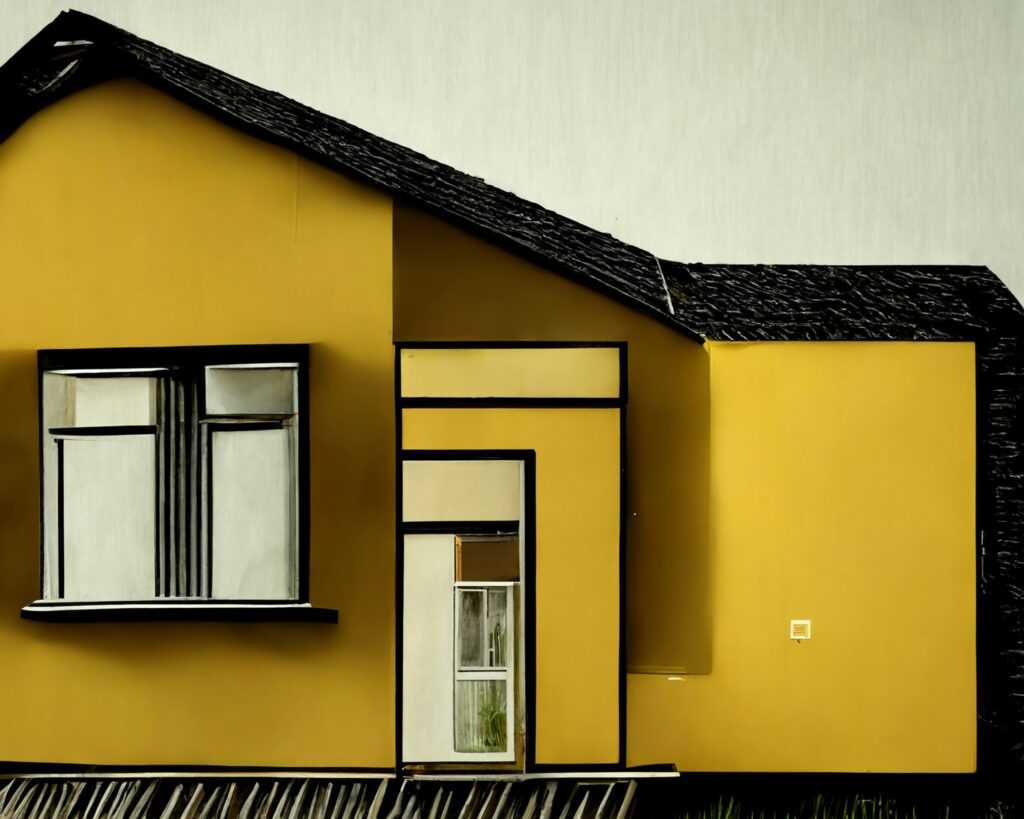
Imagine stepping into your backyard and finding a charming, rustic outdoor space perfect for gatherings and relaxation. It’s a dream, right? But there’s a common belief that creating such a space is expensive and complicated.
Well, I’m here to tell you it doesn’t have to be. This guide will show you how to build or find an economico quinchos rusticos without breaking the bank.
Economical doesn’t mean cheap-looking or low quality. You can create a beautiful, functional space that fits your budget. In this article, you’ll learn about key materials, cost-saving methods, and essential features to look for.
Let’s get started.
What Defines a ‘Rustic’ Gazebo and Where Can You Save Money?
First, let’s define the rustic aesthetic. It’s all about natural materials, simple construction, and a cozy, natural feel. Think unfinished wood, stone accents, and simple rooflines.
Now, what makes a gazebo economical? Cost savings come from three main areas: materials, labor, and size/complexity.
Materials are a big factor. Treated pine is cheaper than cedar or reclaimed wood. But it’s not just about the type of wood.
The economico quinchos rusticos style often uses locally sourced, less expensive materials to keep costs down.
Labor can be a huge expense. DIY projects save money, but they require time and skill. Hiring professionals is more costly but ensures quality work.
Size and complexity also matter. A simpler, open-air design without complex joinery or elaborate features significantly reduces both material and labor costs.
- Roofing material: Choose affordable options like asphalt shingles over metal.
- Foundation type: A simple gravel base is cheaper than a concrete slab.
- Overall square footage: Smaller structures cost less to build and maintain.
Smart planning is key. Knowing where to cut costs and where to invest will make your project more affordable.
Comparing the Top 3 Budget-Friendly Materials for a Rustic Look
Choosing the right material for your economico quinchos rusticos can be a bit of a puzzle. Let’s break it down with a head-to-head comparison to help you pick the best one for your budget and skill level.
Material 1: Pressure-Treated Pine
Pros:
– Widely available.
– Lowest cost.
– Rot-resistant.
Cons:
– Can warp if not dried properly.
– Has a greenish tint that needs staining.
– Less ‘premium’ look.
Material 2: Reclaimed Wood (Pallets, Barn Wood)
Pros:
– Extremely low cost or even free.
– Unique character.
– Eco-friendly.
Cons:
– Requires significant labor to de-nail and prep.
– Inconsistent quality.
– May contain pests or chemicals.
Material 3: Cedar (Lower-Grade or Smaller Dimension Lumber)
Pros:
– Naturally rot and insect resistant.
– Beautiful color.
– Lightweight.
Cons:
– More expensive than pine.
– Softer wood can dent easily.
Here’s a quick summary table to help you decide:
| Material | Cost (1-5) | Durability (1-5) | Aesthetics (1-5) |
|---|---|---|---|
| Pine | 1 | 4 | 3 |
| Reclaimed Wood | 1 | 3 | 5 |
| Cedar | 3 | 5 | 5 |
Each material has its own set of pros and cons. Consider what matters most to you—cost, durability, or aesthetics. economico quinchos rusticos
If you’re on a tight budget and don’t mind a little extra work, reclaimed wood might be your best bet. For a more premium look without breaking the bank, cedar is a great choice. And if you want the most cost-effective option, pressure-treated pine is the way to go.
Think about your project and what you’re comfortable with. That’s the key to making the right choice.
DIY Build vs. Pre-Fab Kit: Which Path Saves You More?

After you’ve chosen your materials, the next big decision is whether to go the DIY route or buy a pre-fab kit. Let’s break it down.
DIY can save you a lot on labor. You have complete control over the design and materials. But it’s not all sunshine and rainbows.
You need specific tools and construction skills. It also takes a ton of time. And if you mess up, it can get expensive fast.
On the other hand, pre-fab kits come with everything pre-cut and included. Detailed instructions reduce the risk of errors. Assembly is much faster too.
But, they cost more upfront. For example, a 10×10 foot gazebo might set you back $1500 for a kit. The same project in DIY could be around $800 in materials.
However, that $1500 kit saves you 40+ hours of labor. Time is money, right?
If you value time and convenience, go for the kit. If you have the skills and time, DIY is the way to maximize budget savings.
There’s also a middle ground. You can buy a plan and source your own materials. This gives you some customization while still saving on labor.
| Option | Cost | Labor Hours |
|---|---|---|
| DIY | $800 | 40+ |
| Pre-Fab Kit | $1500 | Minimal |
In the end, it’s about what you prioritize. Some people swear by the economico quinchos rusticos approach, but I think it’s more about finding the balance that works for you.
5 Non-Negotiable Features for a Long-Lasting, Affordable Gazebo
Before you make that final purchase or start building, here’s a quick checklist to ensure your gazebo stands the test of time.
A solid foundation is key. Use concrete deck blocks or poured piers to prevent sinking and instability. This step can’t be skipped.
Weather-resistant hardware is a must. Galvanized or stainless steel screws and connectors will keep rust at bay and maintain structural integrity. Trust me, it’s worth the extra cost.
The roof needs to be durable. Even on a budget, opt for quality materials like corrugated metal or asphalt shingles over simple plywood. A good roof can save you from a lot of headaches down the line.
Proper wood treatment is crucial. All wood, especially pine, should be sealed or stained to protect it from moisture and UV damage. This step ensures your gazebo looks great and lasts longer.
Lastly, consider the design. An economico quinchos rusticos style can be both functional and aesthetically pleasing, adding a unique touch to your outdoor space.
Creating Your Perfect Outdoor Escape on a Budget
A beautiful, economical rustic gazebo is entirely possible with smart choices in materials and building methods. Opt for affordable options like pine or reclaimed wood.
Consider whether a DIY project or a pre-made kit better suits your skills and budget. The biggest savings come from planning ahead and not over-complicating the design.
You now have the essential knowledge to evaluate your options effectively. Economico quinchos rusticos can be both charming and cost-effective.
Take the next step by measuring your outdoor space and pricing out your preferred material at a local lumber yard.
 Jarvison Nagyan writes the kind of home improvement essentials content that people actually send to each other. Not because it's flashy or controversial, but because it's the sort of thing where you read it and immediately think of three people who need to see it. Jarvison has a talent for identifying the questions that a lot of people have but haven't quite figured out how to articulate yet — and then answering them properly.
They covers a lot of ground: Home Improvement Essentials, Interior Renovation Ideas, Home Design Inspirations, and plenty of adjacent territory that doesn't always get treated with the same seriousness. The consistency across all of it is a certain kind of respect for the reader. Jarvison doesn't assume people are stupid, and they doesn't assume they know everything either. They writes for someone who is genuinely trying to figure something out — because that's usually who's actually reading. That assumption shapes everything from how they structures an explanation to how much background they includes before getting to the point.
Beyond the practical stuff, there's something in Jarvison's writing that reflects a real investment in the subject — not performed enthusiasm, but the kind of sustained interest that produces insight over time. They has been paying attention to home improvement essentials long enough that they notices things a more casual observer would miss. That depth shows up in the work in ways that are hard to fake.
Jarvison Nagyan writes the kind of home improvement essentials content that people actually send to each other. Not because it's flashy or controversial, but because it's the sort of thing where you read it and immediately think of three people who need to see it. Jarvison has a talent for identifying the questions that a lot of people have but haven't quite figured out how to articulate yet — and then answering them properly.
They covers a lot of ground: Home Improvement Essentials, Interior Renovation Ideas, Home Design Inspirations, and plenty of adjacent territory that doesn't always get treated with the same seriousness. The consistency across all of it is a certain kind of respect for the reader. Jarvison doesn't assume people are stupid, and they doesn't assume they know everything either. They writes for someone who is genuinely trying to figure something out — because that's usually who's actually reading. That assumption shapes everything from how they structures an explanation to how much background they includes before getting to the point.
Beyond the practical stuff, there's something in Jarvison's writing that reflects a real investment in the subject — not performed enthusiasm, but the kind of sustained interest that produces insight over time. They has been paying attention to home improvement essentials long enough that they notices things a more casual observer would miss. That depth shows up in the work in ways that are hard to fake.